The blog is an optional website feature that allows the website administrator to create blog posts and manage comments. Website customers can browse blog posts by date or tag and comment on blog posts.
All blog posts can be filtered by date and tags. The blog listing page displays the title of the blog, the first photo on the post, and a preview of the content. Select any blog entry to see the entire entry and comments.
Users can enter comments and subscribe to the thread to receive email notifications when other users place comments. If the user is logged into the website, the name and email will be defaulted based on the customer account information. Users can choose to add a profile image and a user summary using the My Account page on the website. The account profile information is displayed when the user comments on a post.
Creating or Editing a Post
Log into your web site administration. See Site Administration Overview section for details.
Select Blog as shown below:
To create a new blog post select Add new blog post. To edit an existing post select (edit) beside the existing post. The follow dialog will appear:
-
- Title – Enter a brief description of the blog article
- Author – Enter the name of the post author
- Tags – Select or add tags to the post
Manage Comments
Complete the following steps to manage the comments on your blog.
- Log into your web site administration. See Site Administration section for details. A recent list of comments appears at the right side of the administrator. Click on any comment to view.

- Another way to view comments is by going directly onto the blog. Select Blog.
- Select any blog post to view the comments.
- Click on the red X to delete any comment as shown below:
Most Recent Posts
On any website page the website administrator may choose to include a list of most recent posts. Add the following HTML to the page to display X number of recent blog entries: <BlogEntryList>[Number of entries to dislplay]</BlogEntryList>
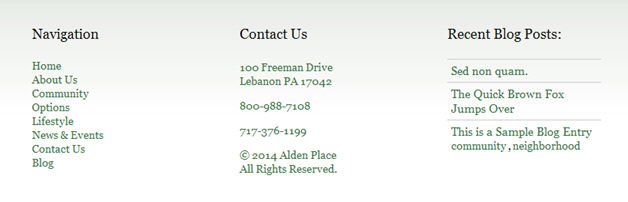
For example, in the above case the following HTML was added to the footer of the website: <BlogEntryList>3</BlogEntryList> .
Add this to the HTML of the page to display all blog entries with the specified tag: <BlogEntryListByTag>[Tag to display]</BlogEntryListByTag>
For example: <BlogEntryListByTag>computer</BlogEntryListByTag>