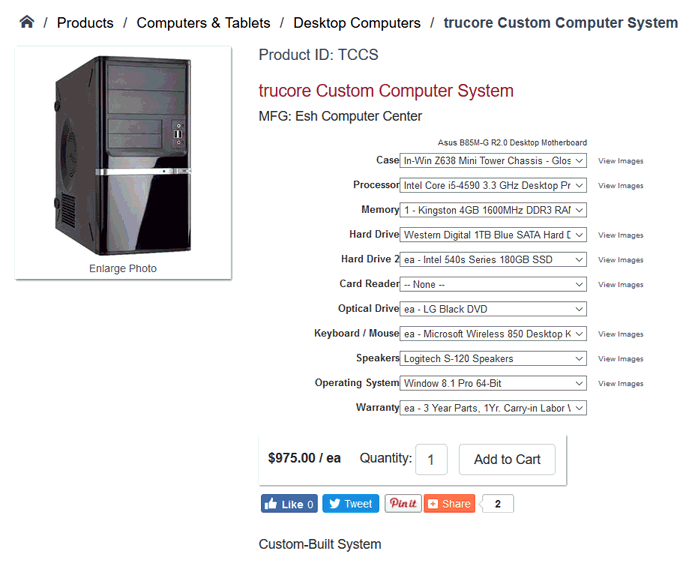
The optional component option within an E-commerce website is an excellent tool to allow the web customer to configure custom sets or made to order items. The optional component allows the customer to select custom options on the website when purchasing product. For example, in the following page a user can configure a custom-built item by selecting optional components for the machine:
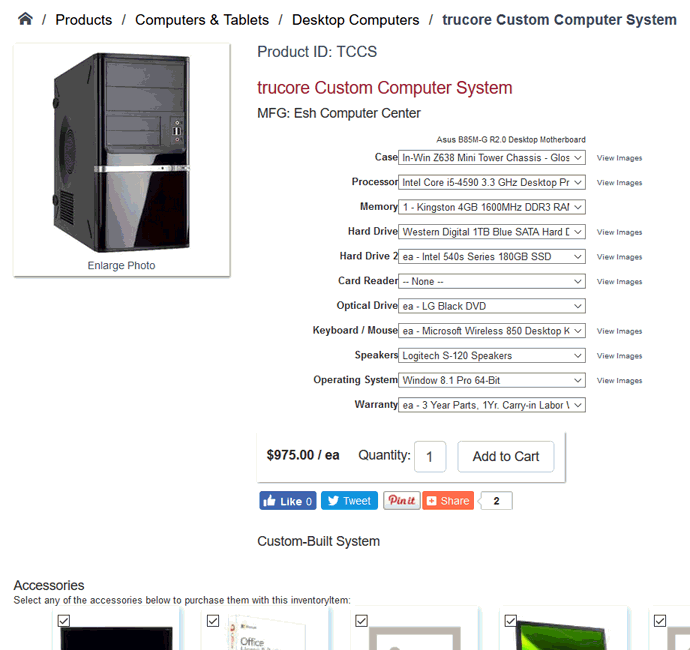
The options on the right side of the template can be selected by clicking on the dropdown options or by clicking on the View Images link to the right of the options.
Note that the View Images option will not appear if graphics are not included on the optional component's inventory item record.
Setting Up Optional Components
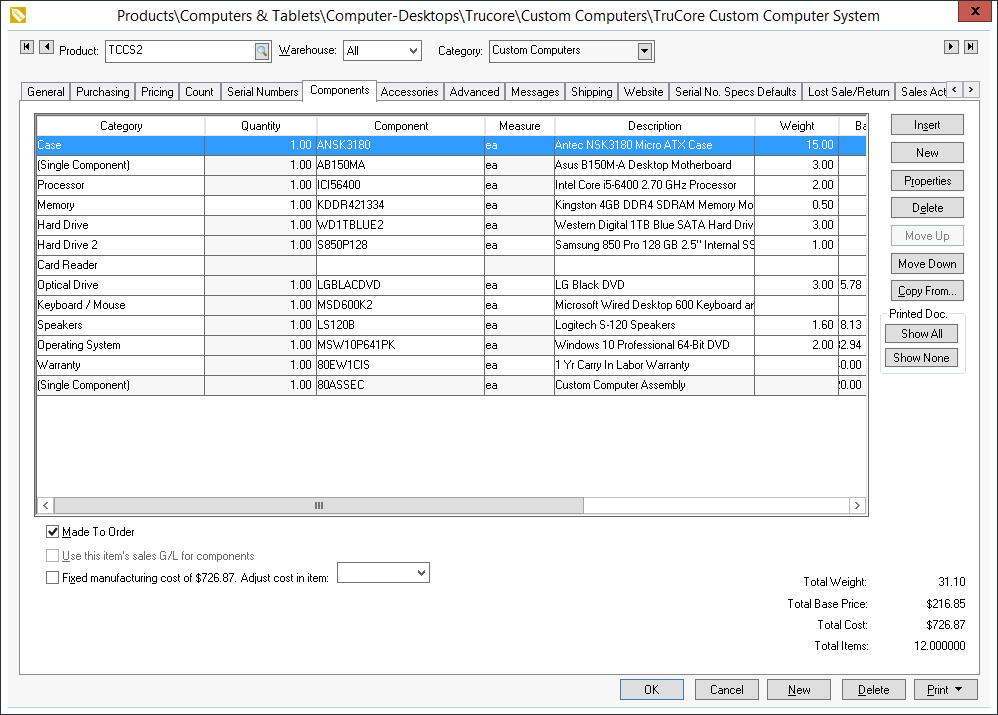
Optional components are configured within a single inventory item.
-
Select Inventory > Product Catalog from the EBMS menu, double-click on a product to open the inventory item record. The parent product or kit's Classification must be No Count or Serialized Item. Click on the product record Components tab as shown below:
-
The Assembly Kit or Made to Order option must be enabled as shown above for the optional component template to be used within an item. Multiple sets of optional components can be added to a single SKU# and the price can react according to the selections made by the web user. Review the following sections for more details:
-
Review the Components and Accessories Overview within the inventory manual for an overview on the component options.
-
Review the Optional Components and Accessories within the inventory manual for an overview on the component options.
-
Review the Option Pricing and Kit Pricing within the inventory manual for an overview on component pricing details.
-
-
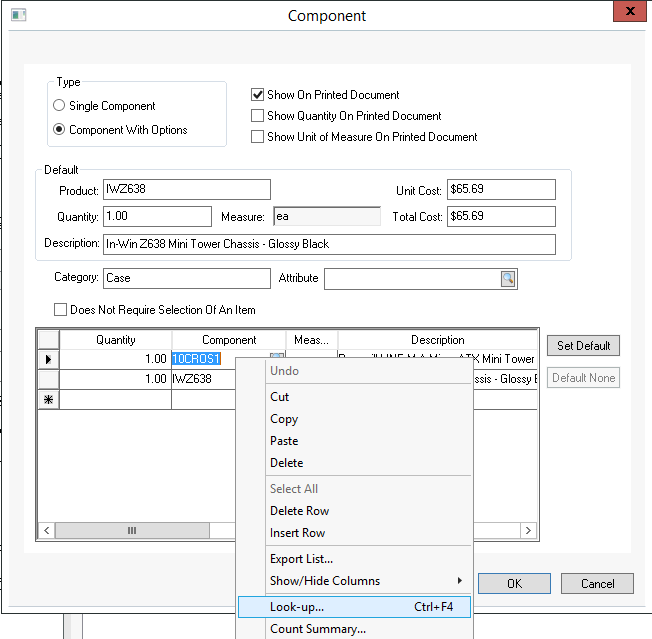
Each Component can include an image:
-
Select a component from the list and click Properties.
-
Right-click on a component and select Look-Up from the context menu.
-
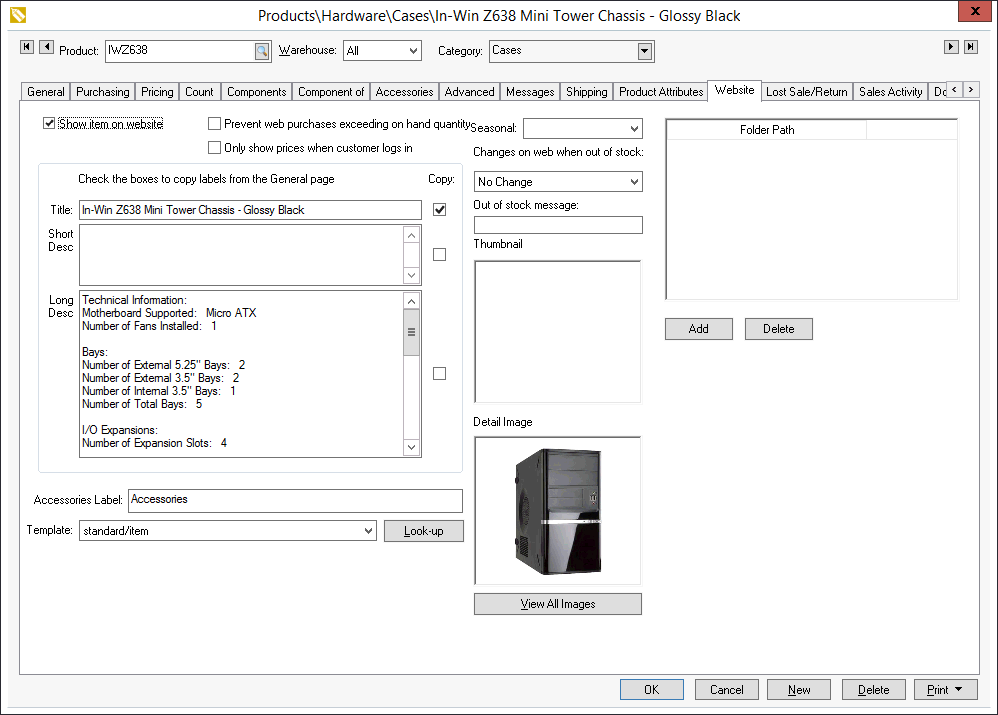
Go to the Website tab.
-
Insert a Detail Image for the component.
-
Click OK to save and repeat for any additional components.
-
-
Go to the Website tab of the parent product record.
-
Enable Show on Website.
-
Select a template:
/standard/itemoptionalcomponents - This template allows the user to select optional components and can calculate pricing as each component is selected. This template is recommended for items with single level optional component lists.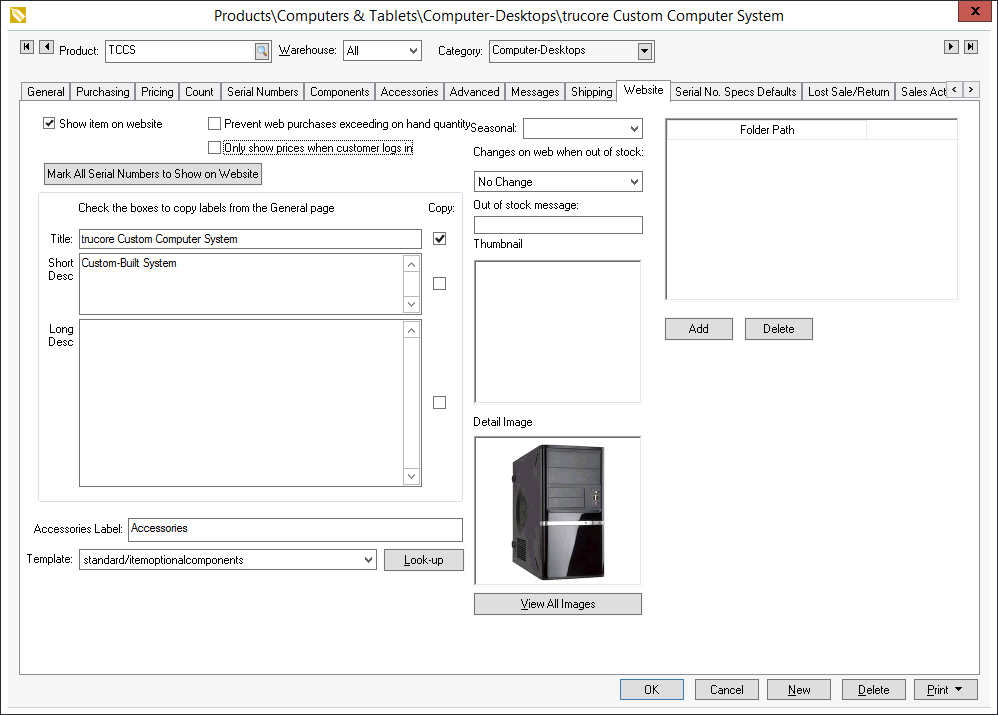
/standard/itemoptionalcomponents1 - This allows users to select optional components but requires the web user to select Calculate Price. This template is recommended for more complex inventory needs including items with multiple levels of optional component lists. Waiting to calculate the price increases the speed of the page. This template also includes the option to Print Quote which generates a pdf of the options selected with the price. This quote can be printed immediately but is not saved on the website account.
-
Review the Listing Products section for more details on the settings within the Website tab.