The EBMS software can accommodate multiple sets of company data. Multiple sets of company data must be located on a common server to meet licensing requirements. Some versions of EBMS will restrict the number of companies that can be managed by EBMS. Each set of company data needs standard information to function properly. Complete the company information settings before using the EBMS software.
To enter company information:
General tab
-
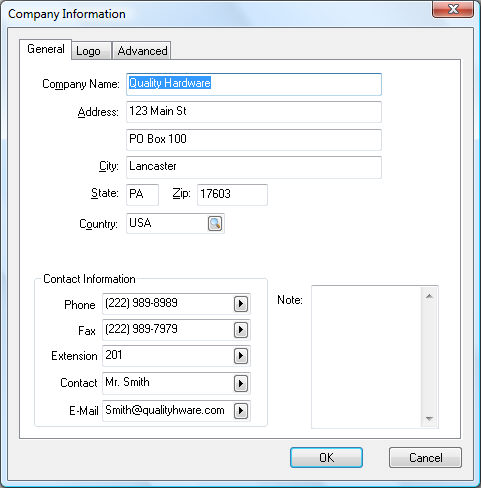
Go to File > Company Information > General tab from the main EBMS menu:
-
Enter Company Name and Address information in the appropriate fields. Review the Set Up Sales Tax for Multiple Locations section for information on how this address may affect sales tax rates.
-
Enter the contact information for the company as desired. Click on the arrow button to the right of the Contact Information entry fields and display the list of available contact labels to change the entry labels. Select the appropriate label and then enter the information into the entry field. See an EBMS consultant to add additional labels and templates.
-
Utilize the Note area to record miscellaneous information. The amount of information that the note area allows is unlimited and will scroll if the information does not show in the visible part of the note.
Advanced tab
The settings within File > Company Information > Advanced tab contains important employer and company information. Many of these settings are required before payroll can be properly processed.
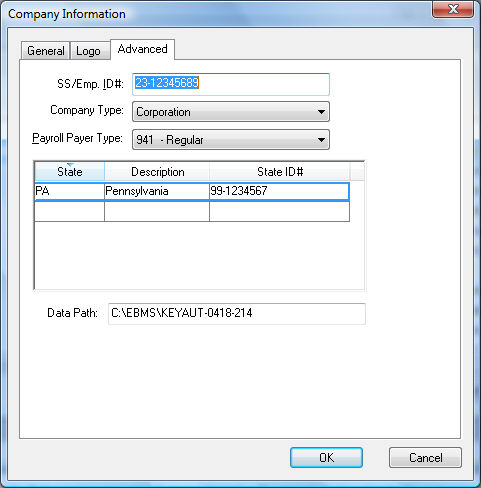
Fill in a Social Security Number (SSN) or the company's Employer ID Number (EIN) into the SS/Emp. ID# field.
Select the correct Company Type and Payroll Payer Type. Because these settings affect payroll and taxes, it is wise to consult with an accountant about how to set these fields.
Review the Labor Overview documentation for more details on the payroll settings.
The Data Path identifies the location of the data. Review the Initial Installation section for more details on data location options.
Logo
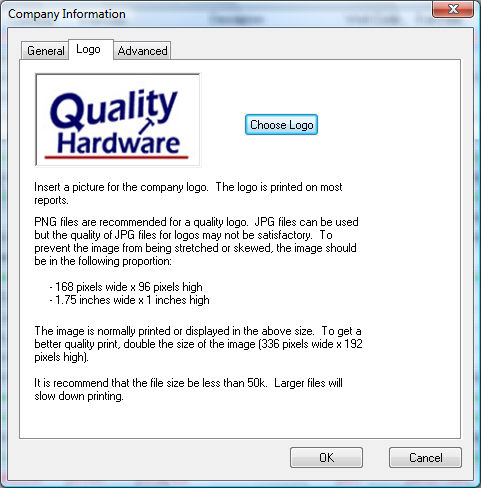
A company logo should be inserted into EBMS to be printed or displayed on many of the reports contained within EBMS. Review the specifications shown on the Logo tab since the size and format of the graphics may affect print speed. Complete the following steps to add a logo to EBMS:
- Go to File > Company Information > Logo tab.
-
Click on the Choose Logo button to locate and select the proper graphics file. The familiar MS Windows open dialog will appear which allows you to select the proper graphics file on your drive. Use the following guidelines if you are creating your own company logo:
- PNG files are recommended for a quality logo. JPG files can be used, but the quality of a JPG file may not be satisfactory for a logo image.
-
The image should be in the following proportion to prevent the image from being stretched or skewed within EBMS:
-
168 pixels wide x 96 pixels high
-
1.75 inches wide x 1 inch high
-
-
The image is normally printed or displayed in the size shown above. To increase the quality of the print, double the size of the image (336 x 192).
-
The file size should be less than 50kb. Larger files will slow down the printing process.