Note: The replacement product for this legacy scanner product is based on MyEBMS MyInventory scanner. Review MyInventory and Scanner Overview for the replacement product.
The EBMS Scanner software should already be installed onto the scanner. The next sections will explain how to update the scanner, configure the scanner, configure users for the use of the scanner, printer setup, and Wi-Fi setup.
Keypad Shortcuts
-
" * " – save and process record
-
Green button: record details for the current screen
-
Red button: settings for the current screen
-
Esc button: go back
-
F1: print
-
F2: delete the current record
Prerequisites
Connect the scanner and scanner dock to a computer in order to install updates to the software. The computer should also have the Windows Mobile Device Software installed since that is used to transfer the update to the scanner. This can be downloaded from a web browser at http://www.microsoft.com/en-us/download/details.aspx?id=3182 and will work with all versions of Windows, Vista to Windows 10. Some versions of Windows server are not compatible.
Update Scanner Software
-
Open the EBMS Software.
-
Select from the Main EBMS menu.
-
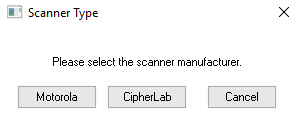
Select CipherLab from the following options:
Note: When updating the scanner, it may ask to install .NET, however, this is not needed since all newer scanners come with a newer version of .NET installed. Click cancel and then OK on the next screen to continue the software update.
The Enable external services option must be turned on for the mobile scanner to communicate with EBMS. Review Server Manager > Advanced Communication Settings for instructions to enable external services.
End-user Scanner Software Configuration
This setup will allow a specific user inside of EBMS to login to the EBMS Scanner Software.
-
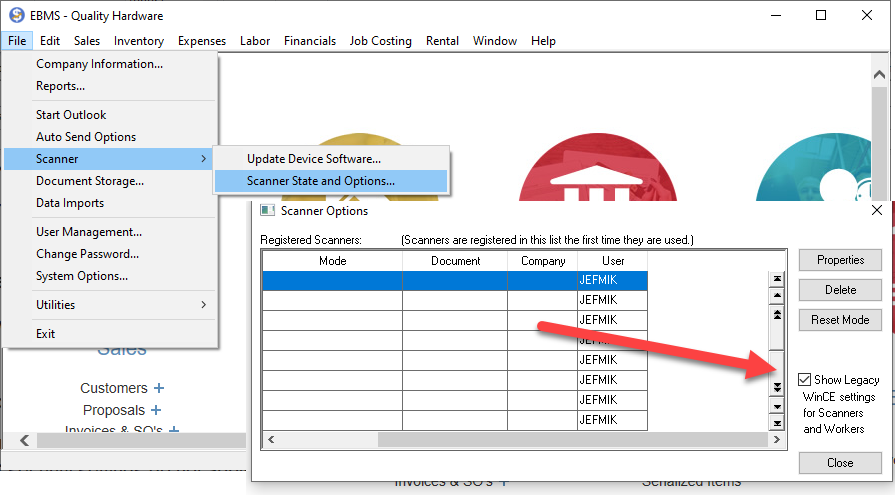
Open File > Scanner > Scanner State and Options from the main EBMS menu:
-
Enable Show Legacy WinCE settings for Scanners and Workers as shown above.
-
Open an Employee Record in Payroll > Employees that will be using the scanner.
-
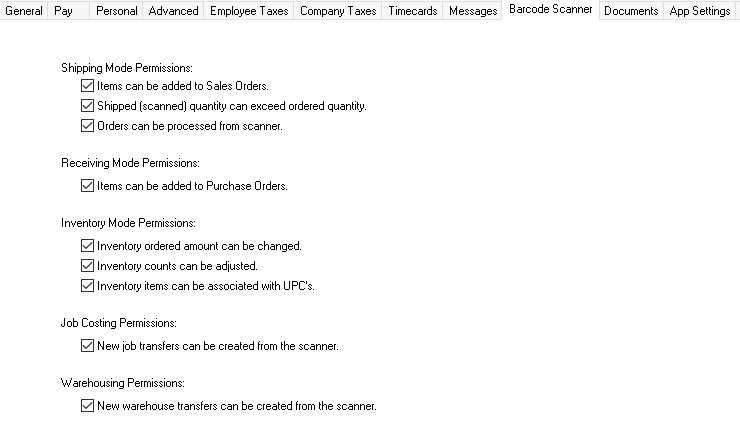
Fill out the barcode tab on the employee record for each option that the employee should have access to on the scanner. The normal EBMS security settings do not apply to the scanner.
-
Enter the Time Clock PIN on the General tab. In this example, 1234 is entered to log the employee into the scanner. It is also possible to log in with the employee ID.

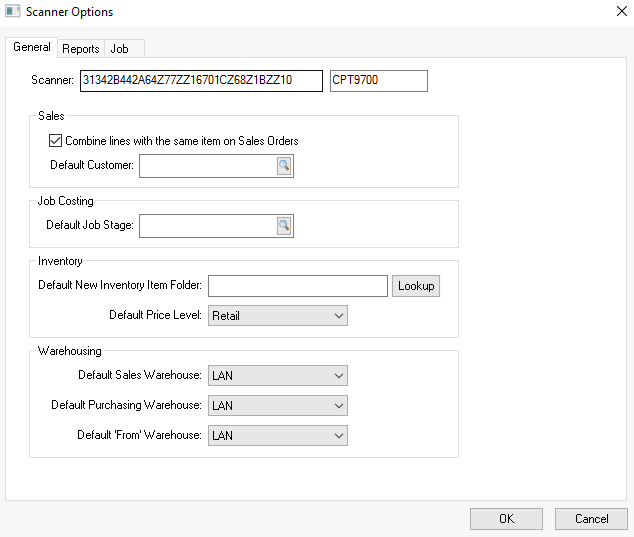
Scanner State and Options
This section explains how to set defaults for the EBMS Scanner Software for Sales, Job Costing, Inventory, Warehousing, Report, and Jobs functions.
-
Select
-
Select the scanner to modify the settings and click on Properties.

-
Select The General tab to show different options showing depending on what modules are installed on EBMS.
-
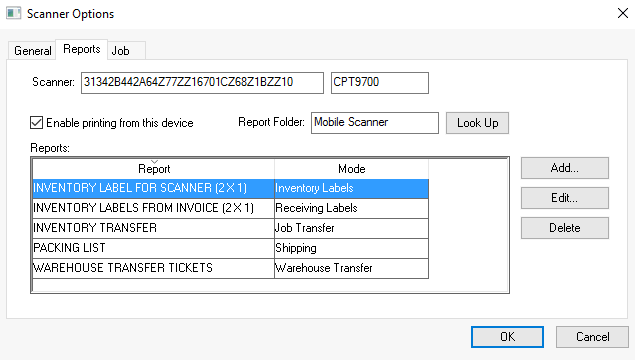
Select the Reports tab. There is a Report Folder called Mobile Scanner under System Folders. If not already selected, click Look Up and select it. Each mode has the option of printing a report. Only one report per mode is recognized by the scanner.
-
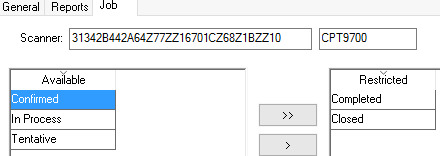
Select the Job tab. In order for a job stage to be available to select from, the stage needs to be in the Available list.
Connect EBMS Scanner Software to EBMS Software
This step connects the EBMS Scanner to your EBMS Software.
Note: Do the following steps on the mobile scanner.
-
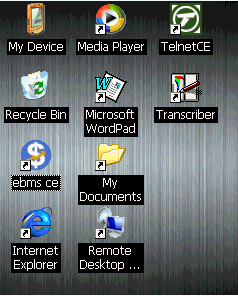
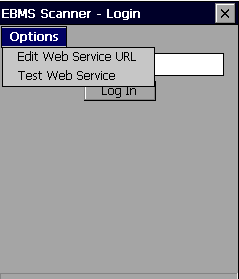
Power on the scanner and double-click on the EBMS Scanner icon.
-
Select Options > Edit Web Service URL.
-
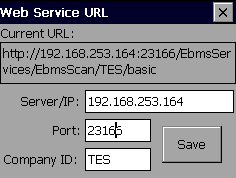
Enter the following fields:
-
Server/IP Field: The IP address of the server. Entering in the server name may cause an error.
-
Port Field: 23166 is the default port and should not be changed. It needs to match the port number the EBMS Services is using.
-
Company ID: This can be found in the EBMS Services Configuration software.
-
Click Save.
-
Wireless Setup for Scanner
This will set up the scanner for WiFi Connection use to your Wireless Access Points.
Note: Do the following steps on the mobile scanner.
Manual Setup to WiFi (Hidden WiFi Connection)
-
Double-click on the wireless icon in the task tray.
-
Click on the Configuration tab.
-
Click on Manage Profiles and enter the following:
-
SSID (case sensitive)
-
WPA may vary, but likely WPA2
-
Encryption may vary, but likely AES-CCMP
-
Authentication: PSK
-
Passphrase: the network key for the wireless router/access point
-
- Click OK and the network should be connected.
Auto Setup to WiFi
-
Double-click on the wireless icon in the task tray.
-
Click on the Configuration tab.
-
Click on the Scan button.
-
Double-click on the WiFi name.
-
Create a new profile and click Yes.
-
Scroll down to the bottom of the list for the Password. In the Value field, enter the WiFi Password.
Printing from the Scanner
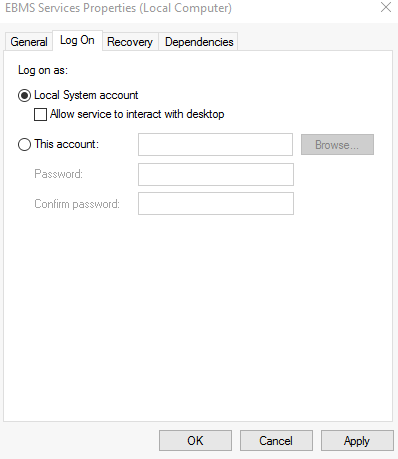
The printing service with the Scanner uses the Default printer, which is set on the computer that is running the EBMS Services Configuration software. The EBMS Services must use an administrator user to be able to print to printer.
-
In the Windows Start menu, search for Services and open.
-
In the Services List, double-click on the EBMS Services.
-
Click on Log On tab.
-
Change from Local System account to This account. Enter the full username and password.
-
Click OK.