Adding Images and Files to the Website
The RAD editor contains easy-to-use managers that allow the user to upload and add images, files, and media to a website page.
![]()
Upload and Add an Image
Images can be uploaded and added to a web page using the Website Administrator Image Manager. Complete the following steps to upload and add an image:
-
Open a page using the Website Administrator and select Manage Content > Pages.
-
Select a page to open it.
-
Click inside the page where the image will be inserted.
-
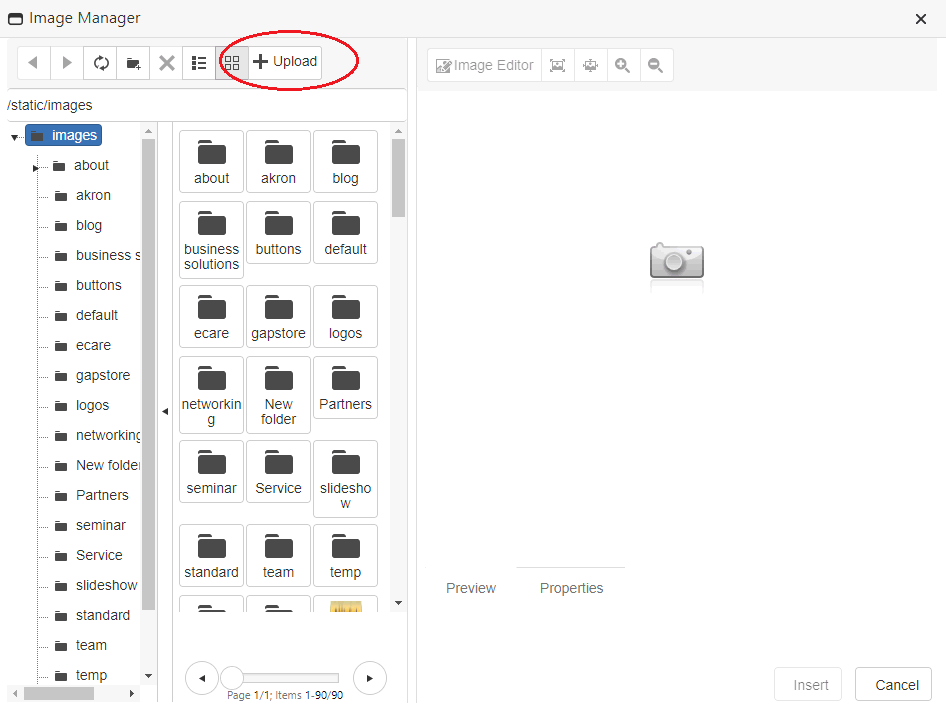
Select the Image Manager from the tool bar.

-
Select +Upload to upload images from the computer to the website.

-
Click on the Select button and browse to the image on the local computer.
-
After all the images have been selected, click Upload.
-
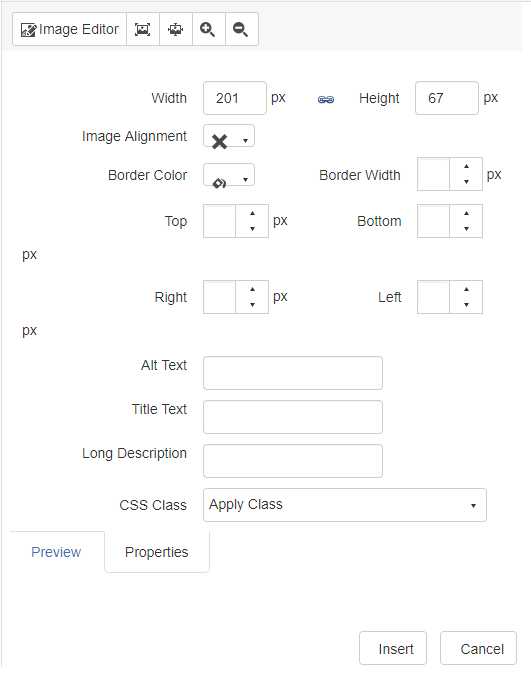
Select the image and edit as needed:
Image Editor - The image editor allows the user to crop, resize, add text, rotate, and print the image
Image Properties - The image properties can be edited including the size, alignment, alt tags, and border.
-
Click the Insert button to add the image to the page
Upload and Add Media & Files
Media can be uploaded and added to a web page using the Media and File Managers.
The Media and Document managers show files stored within the 'files" folder of the website structure. The media manger is used for video and music files and the document manager is used for pdf or word documents.
-
Click inside a page where the link to the file will be located.
-
Click on the Media or File manager.

-
Select the +Upload button to upload files from the local computer. Select a file.
-
Click on the Insert button.
Upload images or files from the Folder Tree
Images, files, and content pages can be uploaded to the web using the Web Administrator Folder Tree as well. Complete the following steps:
-
Select the Manage Content button on the left menu.
-
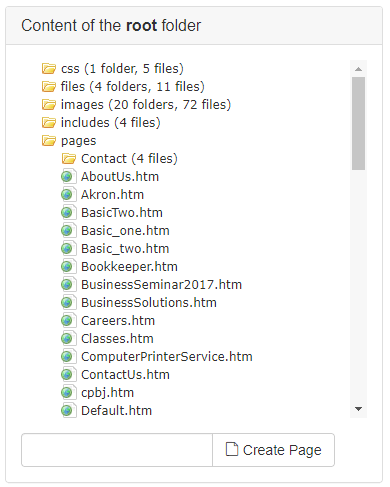
Select images or files from the folder tree.

-
Select the location in the Folder Tree where the picture will be stored and select the Choose File button to choose a file or image as shown below:

-
Choose a file from the computer and select the Upload button to upload the image to the web