The steps to create a Miscellaneous Vendor are similar to creating any other new vendor account:
Open the vendor list by selecting Vendors in the Expense menu (Expenses > Vendors).
Click the New button in the lower right-hand corner to launch a new vendor wizard:

You may wish to create a new folder named Miscellaneous by highlighting the main Vendors folder at the top of the folder tree and clicking the New Category button. Enter a folder name (for example, Misc or Miscellaneous) and check the Allow only subfolders switch to OFF.
Click the OK button to return to the folder list. Highlight the new folder and click Next.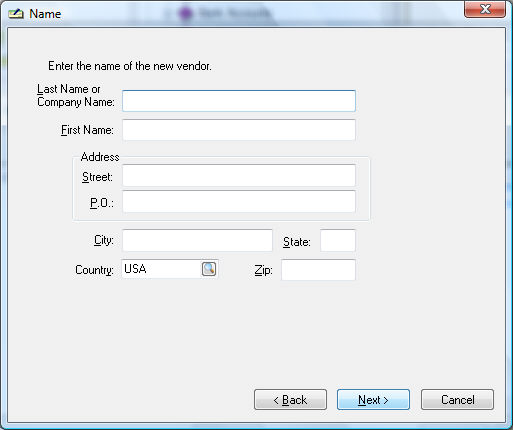
Instead of entering a vendor's name and address on the Name page of the wizard, leave all fields blank with the exception of country and click Next.
Click Next on the Contact and Finance pages without editing any fields.
On the last page of the wizard, the vendor information box will be blank. Enter an easy-to-remember ID for your miscellaneous vendor such as MISC.
Click Finish to create Miscellaneous Vendor.
Click Cancel to return to the vendor list.