Vendor credits should be entered in the same manner as a vendor invoice, but the total will be a negative value. Go to Expenses > Invoices and P.O.s to enter a credit memo.
Enter the vendor information the same way as a vendor invoice and enter the credit memo number in the Invoice field.
The Payment method should be set to Charge to process the refund later or to apply the credit toward a vendor invoice. The Payment type can be set to the Urgent option if the user wishes to apply the credit immediately. The credit memo will be selected to be paid in the vendor payments window, and a check will be generated as soon as the total of the selected vendor invoices exceeds the credit amount.
Enter NEGATIVE Ordered and Received quantities if the credit memo lists inventory items that have been returned to the vendor. The negative Received value will increase the count of the inventory Item that is classified as Track Count.
Process the credit memo using the same steps as processing a vendor invoice. For more information on entering or processing vendor invoices, review the Invoices section.
-
Go to Expenses > Vendor Payments to apply a credit toward an existing invoice or to process a vendor refund:

-
Select the invoices as well as the credit memo. If you wish to apply the credit toward existing invoices, change the payment amount of the invoice to match the amount of the credit.
-
Select Process Checks from the Process button on the lower right-hand corner. A check will not be generated, and the invoices and credits will not be processed if the total amount for the vendor is less than zero.
Complete the following steps to process a cash refund that has been received from the vendor.
-
Enter a credit memo by entering a credit vendor invoice, if it has not already been entered and processed. Make sure that the Payment type is set to Charge when processing the credit invoice.
-
Set the Bank Account within the vendor payments window to a general ledger cash account. This will apply the refund to the cash account in a similar way as a payment that has been received from a customer.
-
Enter the date that the refund was received in the Date field.
-
Set the All or Vendor option to Vendor. Note: when the Process button is clicked and the option is set to All, the system will ignore any outstanding vendor total that is less than zero.
-
Enter the vendor's ID code. All the outstanding invoices and credit memos will be listed on the window including the credit that the vendor has refunded. Be certain that the credit was processed properly if the refunded credit does not appear.
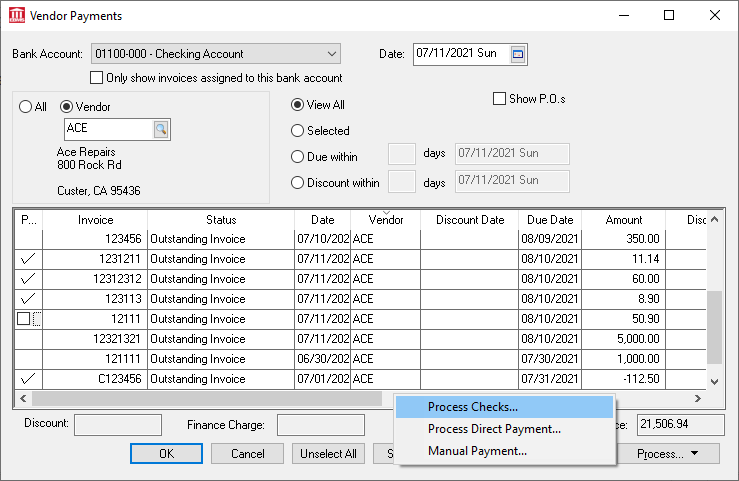
All outstanding invoices and credits that are not affected by the refund should be switched OFF. The Payment total should equal the negative amount of the refund.
Click the Process button and select Process Checks to show the following message will appear:
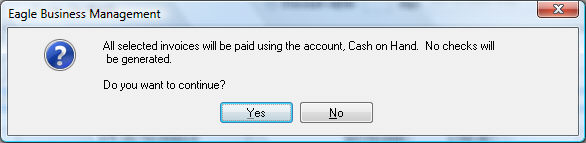
Click the Yes button and the credit memo will be processed and removed from the outstanding list. The refund will appear in the deposit screen (Sales > Deposits) in the same manner as a customer payment.
See the other sections within the Expenses > Vendor Payments section for more details.