The steps to create a Miscellaneous Customer are similar to creating any other new customer record. Perform the following steps:
-
Open the customer list by going to Sales > Customers.
-
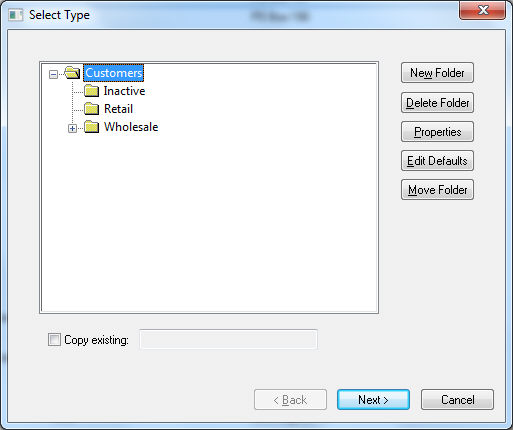
Click the New button in the lower right-hand corner. The following wizard will appear:
-
You may wish to create a new folder named Miscellaneous by highlighting the main customers category folder and clicking the New Category button. Enter a Category Name (i.e. Miscellaneous) and make sure the Allow only subcategories option is disabled (unchecked). Click the OK button to return to the folder list.
-
Highlight the new Miscellaneous folder and click Next.

-
Instead of entering a customer's name and address on the name page of the wizard, leave all the fields blank with the exception of country and click Next.
-
Leave all fields within the Contact page blank and make sure the Include in Mailing List and Include in Email List options are disabled (unchecked). Click the Next button to continue with the Finances page.
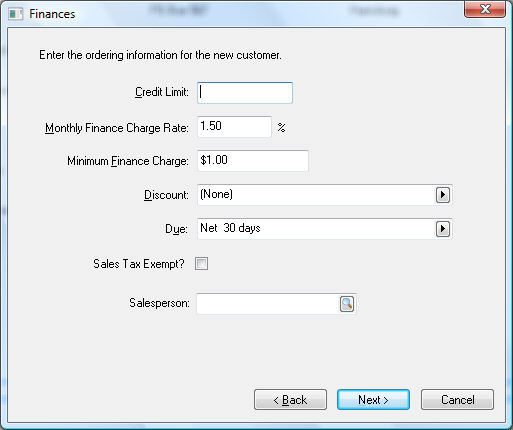
The Credit Limit and Finance Charge fields can be kept blank since they are irrelevant for cash customers. All miscellaneous customers should be processed as cash customers.
If discounts are given to cash customers, enter the discount terms. Set the Discount field to list the standard discount, if any, allowed to new customers on their invoices. To set the discount, perform the following steps:
-
Set the proper discount template by clicking on the right arrow button to the right of the discount field. A drop-down list will display all the discount options. If no discounts are allowed for this customer, set the Discount entry field to (None) and ignore the second step.
-
If you do set up a discount template, you will need to enter the discount detail information. For example, if you set the option to "__ % paid in __ days", you must enter a number for the discount percentage and the number of days in which the customer is allowed to take the discount. The number of days should be set to zero since only cash customers should be entered as miscellaneous customers.
-
Set the Due terms to cash by clicking on the right arrow and selecting Cash from the list. A miscellaneous customer should only be used for cash invoices. If you wish to process a charge invoice, enter a unique customer identification code so statements and payment reminders can be properly issued.
-
If the customer is sales tax exempt, do not use a miscellaneous customer ID.
-
Click Next.
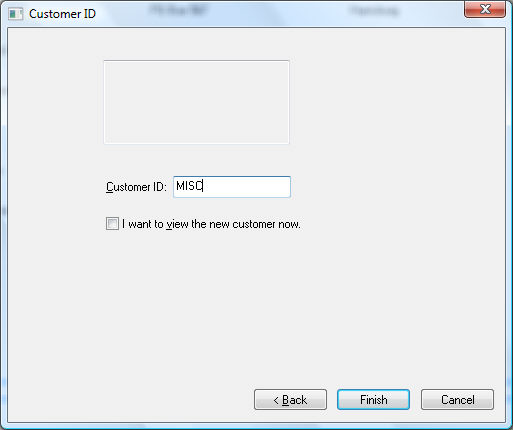
On the last page of the wizard, the customer information box will be blank. Enter an easy-to-remember Customer ID for your miscellaneous customer such as MISC.
Click Finish to create the Miscellaneous Customer.
Cancel will abort the process and return to the customer list.