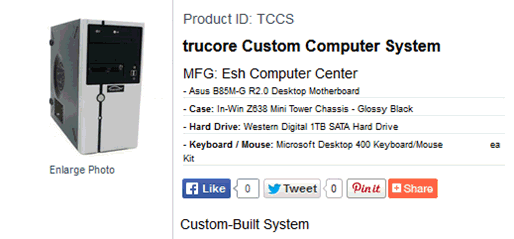
Product Social Share
Dynamic E-commerce product pages include social media share capabilities. This allows customers to quickly like, tweet, pin, and share the product across multiple social media platforms.

Create a file on your local computer with the html snippets from the different social platforms. Contact your web developer for assistance in setting up social media or acquiring these snippets of code.
Example code may look like:
<!-- AddThis Button BEGIN -->
<div class="addthis_toolbox addthis_default_style ">
<a class="addthis_button_facebook_like" fb:like:layout="button_count"></a>
<a class="addthis_button_tweet"></a>
<a class="addthis_button_pinterest_pinit" pi:pinit:layout="horizontal"></a>
<a class="addthis_counter addthis_pill_style"></a>
</div>
<script type="text/javascript">var addthis_config = {"data_track_addressbar":true};</script>
<script type="text/javascript" src="//s7.addthis.com/js/300/addthis_widget.js#pubid=ra-52c5c9ad497a3525"></script>
<!-- AddThis Button END -->
Name and save the file as SocialMedia.inc
Login to the online administration tools. Review the section on Site Administration.
Go to Manage Content > Files.
Browse and upload SocialMedia.inc to the Files folder. Review the section on Adding Images and Files to the Website. Note that the SocialMedia.inc file cannot be edited from the Site Administration. This file must be edited on your local computer and then uploaded.
The info included in the SocialMedia.inc file will automatically be included on each E-commerce page beneath the product short description and price.