This feature helps with vendor organization. Vendors can be grouped in folder groups as shown below. Common settings can be configured for all vendors within a folder group. Review the Setting Vendor Defaults section for more details.
Create vendor folders by selecting from the main EBMS menu and clicking on the Vendor Categories tab. For further explanation of how to create folders for vendors, review Categories and Folder Groups for more details in creating folders.

Change the folder name or edit the button of the highlighted folder as necessary.
Click on Properties and go to the Naming tab to configure EBMS to automatically create a Vendor ID when a new vendor record is created. Review Creating IDs for more details on these settings.
EBMS comes with one standard folder - Vendors. Additional active folders may be added as needed. Folders will be most helpful if designed in a manner that will facilitate ease of selection for a specific group of vendors.
EXAMPLE: A hardware store may create vendor folders for Suppliers, Subcontractors, Service, and Other. Additional subfolders within the Suppliers folder may be named Tools, Farm Supplies, Sports Equipment, and General hardware to further group vendors in convenient folders.
All vendors that you no longer have business with should be marked "Inactive" rather than deleting them. Doing this preserves vendor history while removing the vendor from being included in any vendor-related reports. Review the Making a Vendor Inactive section for more details.
Changing the Name of a Vendor Folder
To change the name of a vendor folder, click the Properties button and the following window will appear:
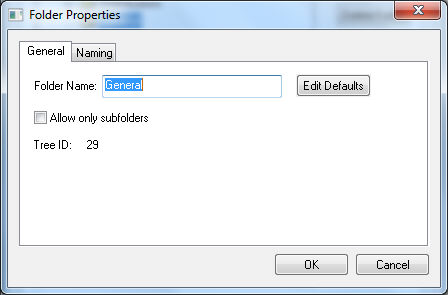
The automatically populated Tree ID value is used to query or identify the folder. Review Set Query Options for instructions to query records based on category or folder.
Vendor folders can also be added in the New Vendor Wizard.