To add a new vendor record, take the following steps:
Open the vendor list by selecting Vendors from the Expense menu ().
To create a new vendor, click Edit in the EBMS header menu and select New. Because the vendor page is open, clicking New will bring up a new vendor wizard, which will begin with the Select Type page:
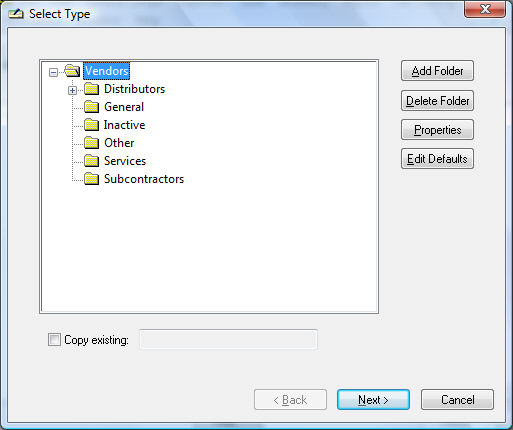
Highlight the folder in which to place the new vendor. Switch the Copy existing option ON to copy information from another vendor. Review the Adding and Deleting Vendor Folders section for more details on creating new folders.
Click Next to continue to the Vendor Name page:
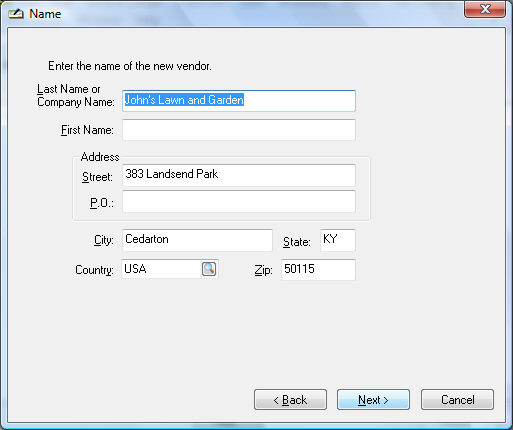
Enter the vendor's name and address information in the appropriate fields. Enter a company name in the Last Name or Company Name entry field and let the First Name blank. EBMS searches a postal code database when the user enters a Zip code and populates the matching City, State, and Country settings. Review the Postal Code Database for more details.
Click Next to continue to the next wizard page, Contact:
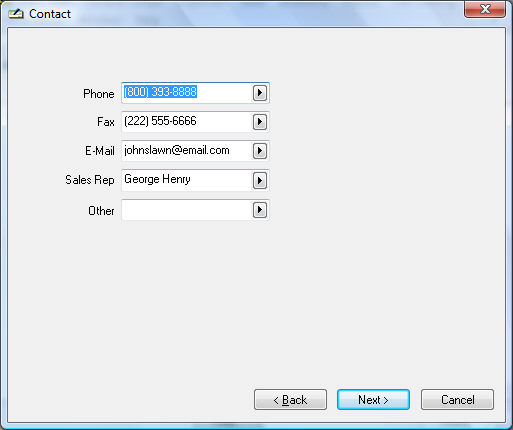
Enter the Contact information as requested. Click on the arrow key to the right of each contact field and selecting the appropriate field name to change the field label. Choose the clearest label for each listed contact field, even if it seems redundant. It will help you keep track of vendor contact information in reports and lists in the future.
Click Next to move on to Finances:
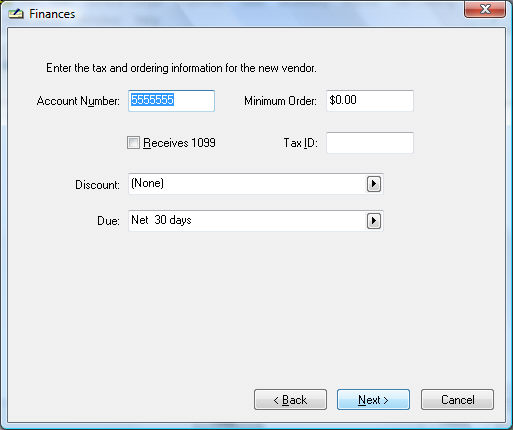
Enter the Finances information:
Account Number: The numbers or letters entered in this field are the account number assigned to your company by the vendor.
Minimum Order: If the vendor requires a minimum order amount, enter it in this field. Note: When a purchase order is processed and the dollar amount is less than the amount specified in this field, a message will be displayed stating that the invoice is below the minimum order.
Receives 1099: Indicates if this vendor gets a 1099 form by checking the box provided.
Tax ID: If this vendor gets a 1099, they must supply their Tax ID number. This will be either a social security number or an Employer Identification Number.
Discount: Use this field to list the discount, if any, that the vendor allows to be taken on their invoices.
- Set the proper Discount template by clicking on the right arrow button to the right of the discount field. A drop-down list will display all the discount options. If this vendor does not offer term discounts, set the entry field to (None) and ignore the second step.
- Set the proper Discount template by clicking on the right arrow button to the right of the discount field. A drop-down list will display all the discount options. If this vendor does not offer term discounts, set the entry field to (None) and ignore the second step.
Due: Use this field to set the payment due date terms.
- Select the due date template by clicking on the right arrow and selecting one of the options. If this field is set to (None), the system will not prompt the user that the invoice is due. If the due date of the vendor that is being edited is unknown, enter "Net __ days" which is the most common type of terms. Complete this entry by setting the days to 30 as shown in next step. Options: Cash, Collect on Delivery, and Due on Receipt are all processed as due immediately.
- Template may require term details such as a date or number of days. For example, if the "Net __ days" template is selected, the exact number of days must be set to complete due date terms.
Click the Next button to continue to the Vendor ID page of the wizard: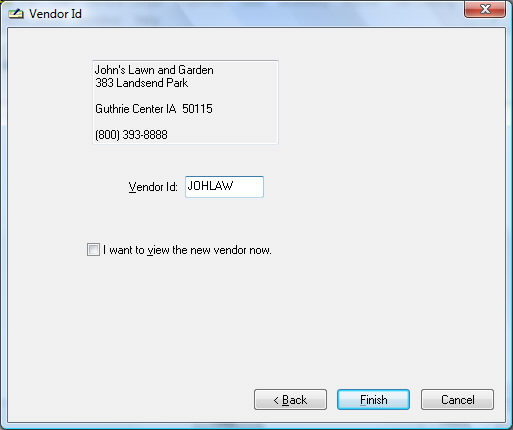
Enter the Vendor ID. This ID is required to be unique to a specific vendor. This ID is used throughout the entire accounting system for all transactions associated with this vendor (changing the vendor ID is a lengthy process plan, so use an ID that is satisfactory). Review Creating IDs for details on automatically creating the ID code.
Click Finish to create a new vendor or Cancel to ignore new entries.
When the above entry is completed for a vendor, there will still be various vendor information that may not be completed. To view all vendor information, review the Changing Vendor Information section.