The details of each serialized item can be reviewed from the product record. Open a product record that has a Classification of Serialized Item. Click on the product record's Serial Numbers tab to view all specific serial numbers associated with that product, as shown below:
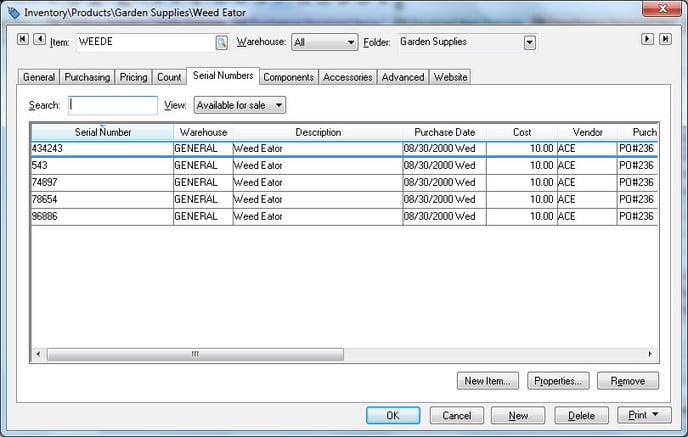
A specific serial number can be located by entering a serial number into the Search entry. To list only serialized items with a specific status, select one of the following options from the View option:
-
Available for Sale: A serialized item has been entered into a purchase order or invoice, but has not been selected within a sales order.
-
Reserved: A serialized item has been selected within a sales order, but the sales invoice has not been processed.
-
Sold: A serialized item has been selected within a sales invoice and the invoice has been processed. The serialized item will show within the Serialized Items tab of the customer record. Review the Viewing or Adding Items within the Customer Window section for more details on the Serialized Item tab.
-
Service Only: The serialized item was not purchased from the user but was manually entered to record service history or other information. Review the Viewing or Adding Items within the Customer Window section for more details on adding serialized items from the customer window.
-
Not Sold
-
Processed Items
Adding a serialized item
An inventory item can manually be added within the inventory item window. It is recommended that items are entered into the system using a purchase order if serialized items were purchased or using the manufacturing window if items were manufactured.
From the product record of an inventory item classified as Serialized Item, go to the Serial Numbers tab. The New Item button on the right side of the page should only be used to make adjustments to the serialized item list.
Click New Item to manually add a serial number to the list and the following window will open:

Enter the product's Serial Number and make any necessary Description changes. Enable the View serialized item when wizard is finished option to enter any additional details into the serialized item record.
Click Next to continue.

The following page reads: "This new serialized item must be put into the inventory assets in general ledger. Select the date for the transaction and the amount to be put in the asset account."
The system will create an inventory transaction if the Inventory Method is set to Perpetual. (To check on this setting, go to Inventory > Options and check whether the Inventory Method is set to Perpetual or Periodic.) The transaction date will be copied for the Date entry and the inventory value shown in the Cost entry will be added to the inventory asset value.
Click Finish to complete the addition process and a new serial number will be added to the product's Serial Numbers tab.
Deleting a Serialized Item
A serial number can be deleted if the item has been destroyed. Use a sales order or the manufacturing screen if the item was sold or used to manufacture another item.
From the product record Serial Numbers tab, select the serial number to be removed and click the Remove button on the right-hand side of the page to delete the serialized item. The following dialog will open if an inventory asset adjustment must be made:
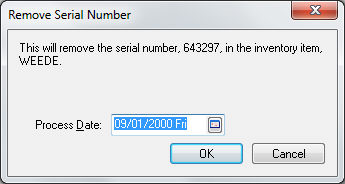
Select a G/L transaction Process Date and click the OK button to complete the deletion.
The New Item and Remove buttons should not be used to correct or change a serial number. To edit a serialized item, highlight the serial number line, click the Properties button to open the item, and then right-click on the serial number and select Change ID from the context menu.