The task module within EBMS can be used to record contact details for a worker. This module can be used in place of or in conjunction with software products such as MS Outlook. Review the following sections within the CRM section of the Sales documentation for more task CRM tools:
-
Send Email from a task: Review the CRM > Send Email from a Task section within the Sales documentation for steps to send an email from a task with specific notes.
-
Search Email from a Task: Review the CRM > Search Email from a Task section within the Sales documentation for steps to view all emails within MS Outlook that references the task number on the email subject line.
-
Creating Outlook Appointments within a Task: Review the CRM > Creating Calendar Appointments section within the Sales documentation for steps to create an appointment with within MS Outlook that references the task.
Create Task Type
Setup a sales contact task type by completing the following steps:
-
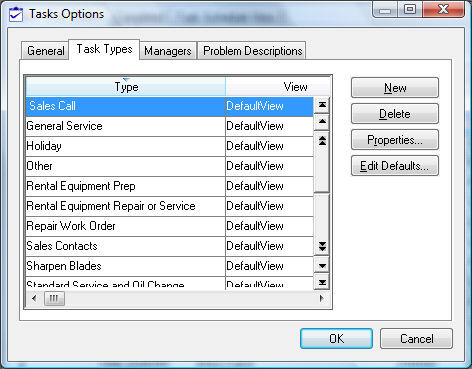
Go to and click on the Task Types tab.
-
Click on the New button and create a sales contact type:
-
Enter a Type ID to identify the sales contact type.
-
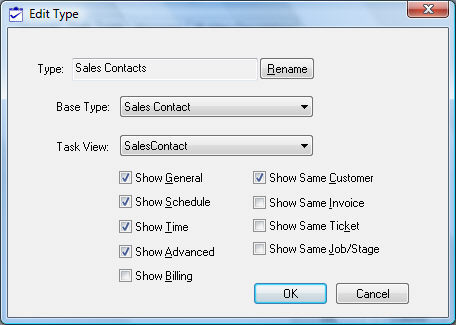
Change the Base Type setting to Sales or Phone. The Phone type should only be used if most sales contacts are made via phone and the task timer should be active as soon as the task wizard is launched. Review the Using Phone Tasks for more details. Use the Sales base type to record sales contact other than phone calls.
-
Select a desired Task View.
-
Enable the Show Same Customer option to show associated tasks for the same customer. Review Customizing Task Views > Associated Tasks to show multiple associated task tabs within a task.
-
Disable any show options to hide specific tabs are not needed.
-
Save the task type options by selecting OK to return to the Task Types list.
-
Select the new sales contact type and click on the Edit Defaults button to open the following task default dialog:
-
Set the following default settings for a sales contact task:
-
Schedule tab: Set the appropriate Location and Priority settings accordingly. Set the Estimated Hour settings if appropriate.
-
Timecard tab – Set the default Work code. Enter a job and stage if the sales contact is connected to a job.
-
Advanced tab – Set the appropriate sales Manager. Review Managing Tasks > Approving Tasks and Assigning a Manager for more details about the Manager option.
-
Sales Contact Views
A new sales contact task can be launched from the main task window or from within a worker record. Review the Scheduling Tasks section for more details on using the main task window (Labor > Tasks from EBMS menu) to schedule sales contacts. Open a worker record to create or edit a sales contact task by going to the Tasks tab of the worker.
The task tab within a worker can be configured to query and group the tasks according to the needs of the user. These settings only affect the Windows profile of the local computer and does not affect other computers. The sales person may wish to query the tasks in one of the following ways:
-
-
Select Status from the Query options. Select Open from the Status options to only list the open tasks as shown above.
-
Set the Query option to Manager and select the sales manager to list only the sales contacts.
-
Disable the Query option so all the tasks for this worker are listed. The query option can be disabled by clicking on the
 icon above the group setting.
-
Some common Group options used within a worker record are as follows:
-
-
The Status option to list all tasks based on the status of a task. This option allows the user to identify open or pending tasks quickly. Review the Using Tasks as Work Orders for some status options or the Task Status Settings section for details about status options.
-
The Type option groups tasks based on the task type. See example listed above.
-
Review the Creating Task Types and Defaults section for more details on creating task types and defaults.
New Contact Task
Complete the following steps to create a new sales contact task:
-
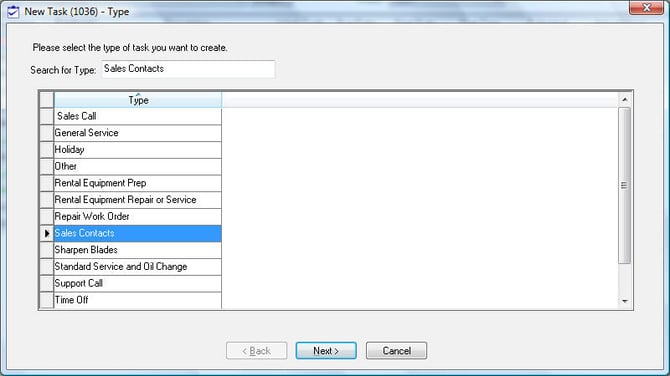
Select Edit > New from the EBMS menu to launch the new task wizard within the main task window.
-
Select the sales contact Type and click Next.
-
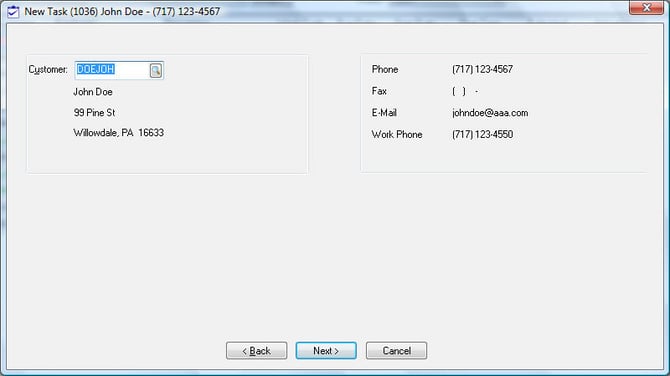
The Worker ID will default if the new task wizard is launched from the task tab of the worker. Otherwise the Worker must be selected. Click Next to continue.
-
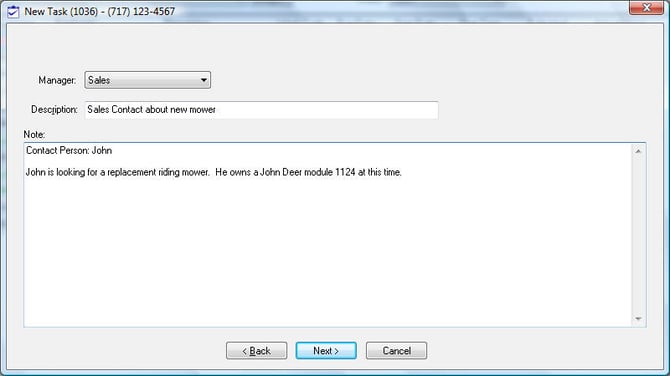
Enter a Description and Notes about the sales contact and click Next.
-
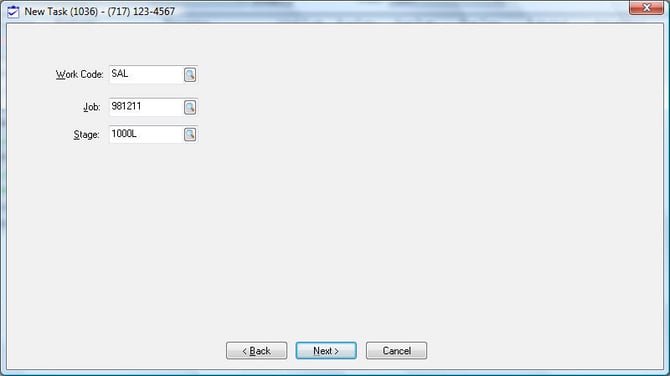
Set the Work Code. Set the Job and Stage if applicable. Click Next.
-
Set the appropriate Start Date and Due By dates. Review the Scheduling Tasks section for more details on the task date settings. Change the Priority and Location setting if appropriate. Enter the sales person’s Employee ID. Employee records should be created for all sales persons including those that are not on payroll. No payroll sales people should be grouped in a separate employee folder group. Review the Labor Documentation for more details.
-
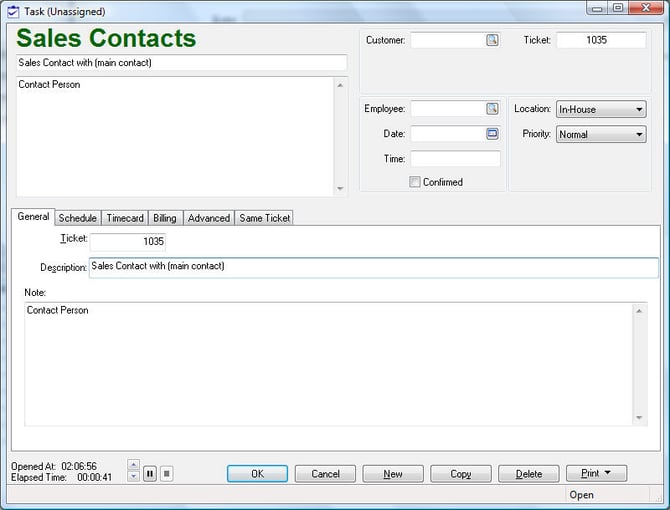
Enable the View Task option to record open the task after the wizard is completed. Click the Finish button and the task will open. Click on the Timecard tab as shown below:
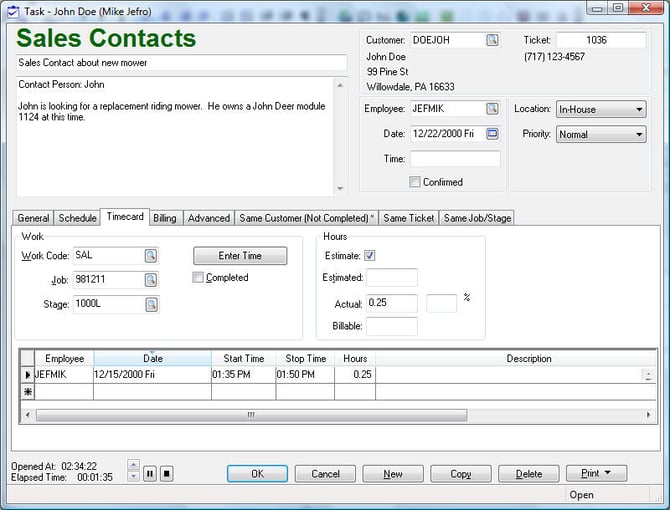
-
Enter the time that was spent on the sales contact and notes on the discussion. Review the Managing Tasks > Recording Labor, and Completing the Task section for more details on the Timecard tab.
Review the CRM > CRM Overview section within the Sales documentation for more details on using tasks and EBMS for worker relations management (CRM).
The time entered within the Timecard tab of the task will be recorded within the sales person’s timecard. Review the Labor Manual for more details.