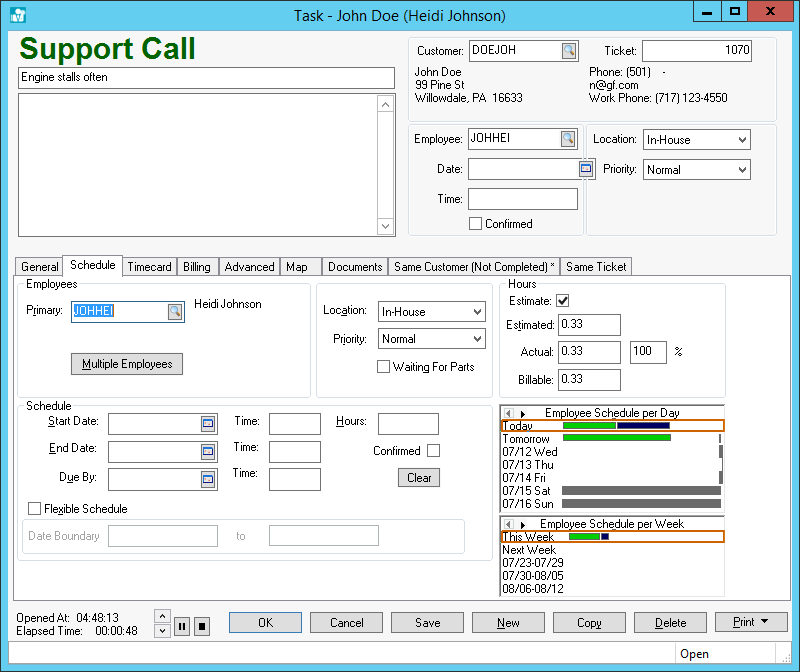
A task can be created from any task list. Complete the following steps to create a new task:
-
Click on from the main EBMS menu if the main task window () is open or click the plus sign (+) next to Tasks & Work Orders on the main page to open a new task.
-
Within a customer record Tasks tab, click the New button to open a task as shown below:

-
Select the task Type from the first page of the new task wizard and click Next.

-
Note that the Worker option does not appear if the task is launched from a specific worker record.
-
Select a Manager. Review Approving Tasks and Assigning a Manager for more details on the manager.
-
The Serial Number entry will only appear if the serialized item option is installed. Select the Serial Number of the equipment being serviced, if applicable. This entry can be ignored if the task or work order is not attached to a serialized item. Review the Serialized Items in the Inventory documentation for more details on serialized items.
-
Enter the Service inventory item. This entry can be ignored if the task is not attached to a sales order or invoice. Review the Attaching a Task to a Service Item section for more details on the Service inventory item.
-
Enter a brief Description of the task. Enter any detailed Notes about task or work order and click Next.

-
Enter the Actual Time and Billable Time. Enter the desired work code.
-
Enable the Link Task to Document to link to a sales order immediately. Disable this option if the sales order is created at a later time. Click Next or Finish to continue.
-
The following wizard page will only appear if the Link Task To Invoice option was enabled on the wizard.

-
Select the first option to create a new sales order or invoice. Select the I want to link this task to an existing invoice option to append the item to an existing sales order. The second option allows the user to attach tasks to sales orders or processed invoices by changing the Status query. The recommended Status query is the Sales Order option since additional time can only be appended to sales orders. Click on an existing sales order and click the View Invoice button to open an existing invoice or order.
-
Enable the View the invoice after linking option to open the invoice after the wizard is completed. Review the Time and Materials (T&M) Tasks vs. Contract Tasks section for more details on connecting a sales order to a task. Click the Finish button to continue.

-
Enter the assigned Worker. This setting can be kept blank so that the unassigned tasks are grouped in a set labeled (none).
-
Set the Location and Priority settings.
-
Configure the optional Pipeline Phase and Rank settings. Review the Project Pipeline Stages section for more details on creating pipeline Phase settings and more instructions.
-
Enter the Scheduling details. These settings can be set later if the schedule is determined by another person. Review the Scheduling Tasks section for more details on scheduling tasks.
-
The sales order or invoice linked to the task will be displayed at the end of the wizard if the View the invoice after linking option is enabled.
New tasks are normally created with a status as Open. Review the Task Status Settings section for details on changing the status of a task.
Tasks can also be created within MyTime and MyDispatch.
