Export and Copy CSV files from EBMS
Exporting EBMS data to a CSV file can be useful in various situations including the following:
- Export data to pass to another software, such as a mail merge, mailing process, 3rd party reporting tool, or other software.
- Export data to manipulate and then re-import into EBMS.
- Export data to create a mailing list, product list, or other information list that can be passed to a 3rd party.
There are multiple ways to export CSV data:
- Export from an EBMS report.
- Export from an EBMS list.
- Copy from an EBMS list and paste into an application.
Export CSV from a Report
Customer information within EBMS can be exported to MS Excel using the Customer Address for Mail Merge report. The advantage of this method is that the first and second addresses can be combined, and customers can be filtered by the Mailing List switch.
This report can be found in the Reports list by clicking on File > Reports from the main EBMS menu. Navigate through File > Reports > Sales > Customers > Customer Address for Mail Merge. Click the Print button to configure.
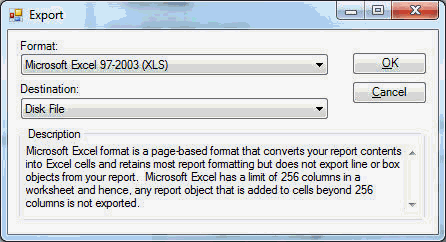
Click on the Export button in the lower right-hand corner of the Print and Report Options page and select the following settings:

Click OK to export customer list to a CSV file. Place the customer address CSV file into a document directory. It is recommended that the user does not place exported lists within the EBMS data directory (CO1). Continue with the following Using Word to Process Mail Merge section to complete mail merge.
Copy or Export CSV from a List
EBMS allows the user to copy or export data directly from the many lists within EBMS. The advantage of this method is that the user can export from any list and can choose the columns (fields) to be exported. The following example is a mail merge. Open the customer search list (Sales > Customers) to export customer information.

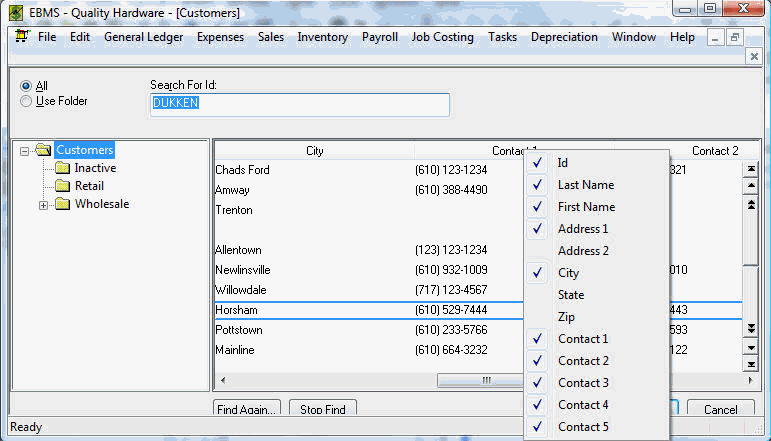
Select the columns of information that you wish to export. Right-click on the column header labels and enable the desired columns by clicking on the column labels that are not checked. The system will only copy or export columns that are checked on the visible column list. Query the list of customers that you wish to copy or export. The following settings will affect the data that is displayed within the list:
-
Choose the All option in the upper left corner if you wish to list the customers within all the folders.
-
Click on a specific category folder within the left pane if you wish to list only the customers within a folder.
-
Click on the Find button to query the list based on keywords or select the Advanced button within the find dialog to do a more advanced query. Review the Find Button within a List Dialog section for more details using the this feature. Review the Set Query Options section for more query details.
The data listed within the list is the only data that will be exported. Review the Search/Lookup Lists article for more details on displaying information within a search list.
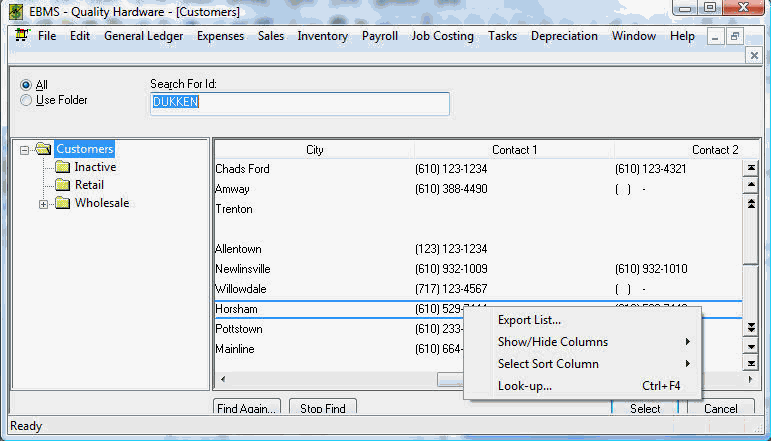
Right-click on the list pane as shown below:

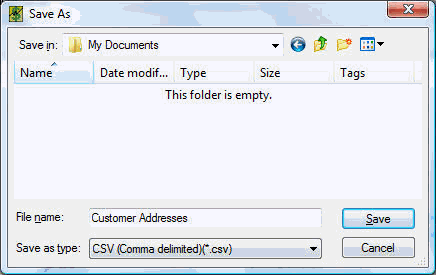
Select Export List from the context menu to export to a CSV file.
Select Copy List.
Paste the information into a spreadsheet or other document that handles CSV formatted data.
Do NOT use a CSV UTF-8 file when exporting to a CSV file. Place the customer address CSV file into a document directory. It is recommended that the user does not place exported lists within the EBMS data directory (CO1).
Review the Mail Merge article for steps to use MS Word to merge the CSV data for emails, letters, labels, envelopes, and other documents.