Inventory Lot records are identified by a lot number, which is manually assigned by the user or automatically assigned by the software. Other information such as the Lot Date can also be assigned manually or by the system.
Create Lot Product
How to create a Lot record:
-
Start by creating a new inventory item by going to Inventory > New Product from the EBMS Menu or clicking the plus sign (+) next to Inventory > Product Catalog on the main page.
- Select the correct category or subcategory folder on the Select Type page. Click Next to proceed.
- Fill in any applicable Description settings and click Next to proceed.
-
On the Information page, select a Classification of Lots - Avg Cost or Lots - Linked Cost as shown in the new inventory wizard example below.
Lots – Avg Cost: This classification should be selected to create inventory lots where the lot number does not affect the value of the product. This classification averages the cost value of each lot, rather than processing costs based on the individual lot costs.
Lots – Linked Cost: This classification links the cost to the lot number in a FIFO (First In, First Out) manner similar to other Track Count inventory items.
(Review the Inventory Counts Overview section for more details on linking inventory items. Review the Lots Overview section for more details on the Lots Classification.)

-
Complete the new inventory item wizard. Review the Entering New Products section for more details.
-
Enter a new lot number into the purchase order or manufacturing batch. A new lot record is created as soon as a unique Lot Number is associated with a purchase or a newly manufactured item. The On Hand quantity is incremented on an existing lot record if an existing lot number is entered into the purchase order or batch.
Purchase Lot Product
Complete the following steps to record the purchase of product that includes a lot number or date. Review Entering a New Purchase Order for instructions on creating purchase order detail lines.
-
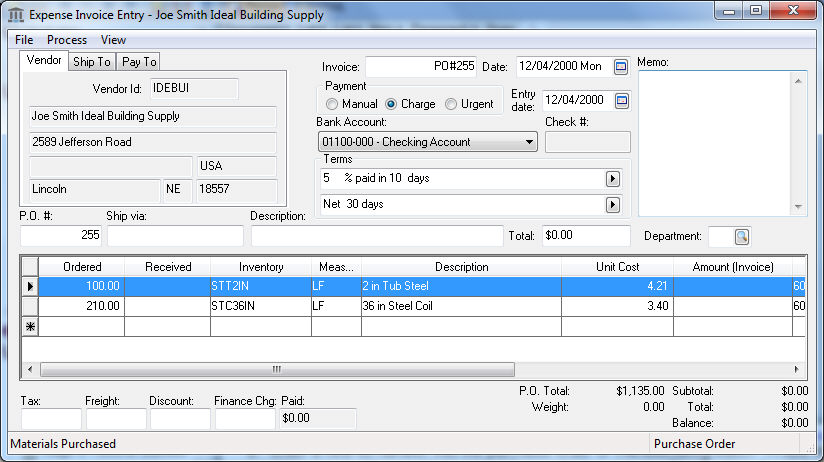
Open a purchase order as shown below:
-
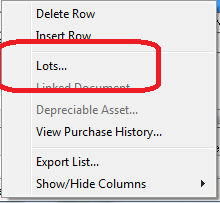
Right-click on either of the purchase order details lines. Since both the STT2IN and STC36IN are classified as Lots, a Lots option will appear on the context menu:
-
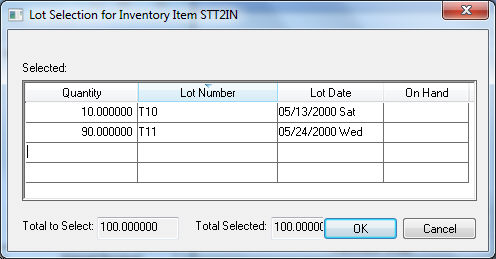
Click on the Lots option on the context menu to open the Lot Selection dialog as shown below:
-
The Quantity amount will be filled in from the purchase order. Change the Quantity value in this dialog if the purchase order line involves multiple Lot Numbers.
-
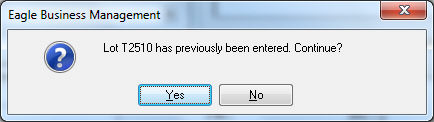
Enter a required Lot Number or code. If the Lot Number is not unique, a warning message will appear.
-
Click Yes to increment the On Hand amount by the Quantity count rather than creating a new lot record.
-
Click the No button to change the Lot Number to a unique number or code.
-
Enter an optional Lot Date. Multiple dates can not be assigned to the lot record.
-
Click OK to record lot information.
Note that the Lots information must be entered before the purchase order is processed into an invoice. Review [Financials] Expenses Invoices > Processing an Invoice for more details on processing a purchase order into an invoice and updating inventory values.
New Lots records can also be created by manufacturing Finished Goods that are classified as Lots. Right-click on the Finished Goods lines within a manufacturing batch and select Lots from the context menu. The Lots Selection dialog and entries are similar to the purchase order options explained in this section. Review the Creating a Simple Manufacturing Batch section for more details on creating and processing a manufacturing batch.
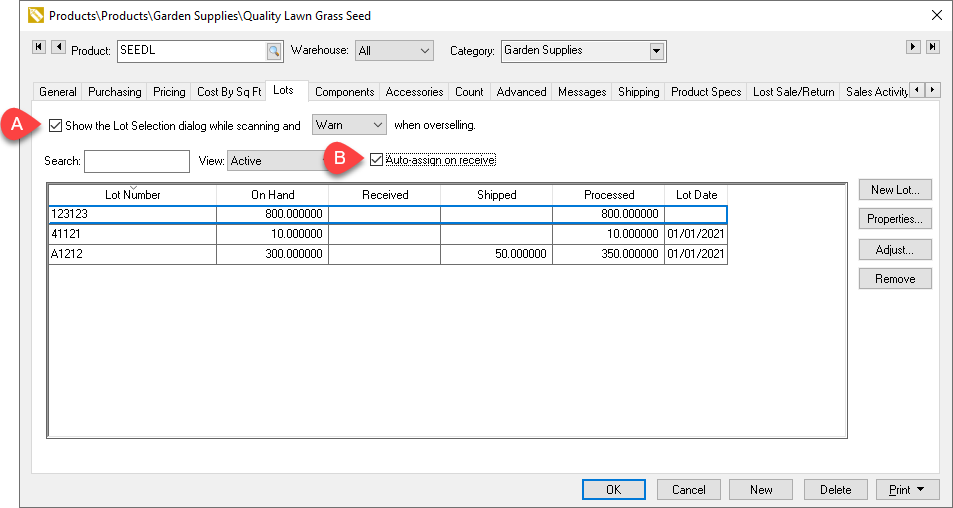
Lot Options
-
From the product record Lots tab, enable the Show the Lot Selection dialog while scanning and [Warn/Block] when overselling option to limit sales when stock levels for a lot are low. Set the Block option to bar a user or Warn option to only warn the user.
- The Lot Number and Lot Date can be automatically assigned by enabling the Auto-assign on receive option located on the Lots tab of the inventory item as shown below:
Review the Changing an Inventory Classification for instructions to changing the Classification to one of the Lots classifications.