In EBMS, users can enter contact-specific information identifying individuals associated with a specific customer, vendor, or employee account. A customer record will be used here as an example.
Complete the following steps to access the contact information for a customer:
-
Click on the General tab of the customer or other account.
-
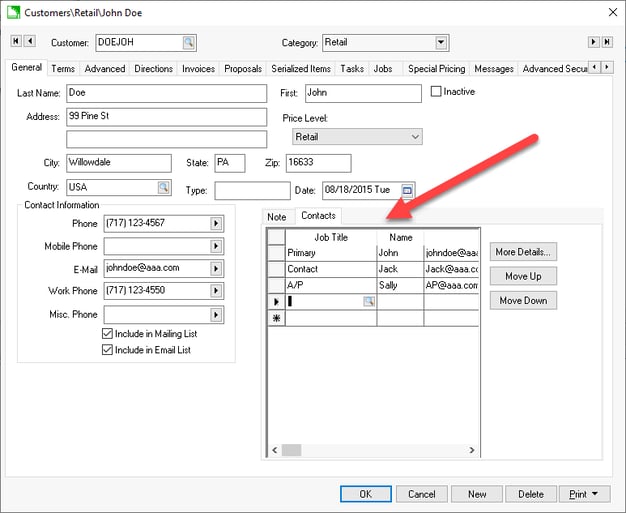
Click on the Contacts tab within the General tab to show the contacts list as shown below: Set the Contacts tab as the default tab to show contacts on the general tab rather than the note. Review the Column, Tab, and Dialog Appearance section of the Main documentation for more details on defaulting a tab.
-
Basic contact information can be entered directly into the Contacts tab. The order of this list can be changed by using the Move Up / Move Down buttons. Additional information can be added by selecting a contact and choosing the More Details... button. Right-clicking on a contact and choosing Create Email will launch a new email in the default mail program of the computer
.
Job Titles can be modified and added by going to as shown below:
Add or edit a job Title from this list. Merge an existing Job Title with another by editing the title so that it matches the desired title. Click OK to save label list.
Review the following instructions to set up contact information:
- Set up customer contact types: Review Setting Customer Defaults to setup the contact types within the General tab of the customer account record.
- Set up vendor contact types: Review Setting Vendor Defaults to setup the contact types within the General tab of the vendor account record.
- Set up worker contact types: Review Setting Worker Defaults to setup the contact types within the General tab of the worker account record.