Serialized items can be manually added to stock and this process will create similar transactions as manually adding any other inventory to stock. The system will create inventory adjustment General Ledger transactions that are described later in this section.
The preferred method of adding stock is using an expense invoice if the serialized item is being purchased or using the manufacturing screen if the product is being manufactured.
Complete the following steps to add a new serialized item manually. Note that this process is not recommended unless you are adjusting inventory counts.
- Go to Inventory > Product Catalog and double-click an inventory item to open the product record. Click on the product record Serial Numbers tab.

-
Click on the New Item button on the right side of the Serial Numbers tab to manually add a new serialized item as shown above.
-
Enter a unique Serial Number to identify the additional item. Review the Creating a Serial Number for more information on generating serial numbers.
-
The Description can be used to identify any unique characteristics of the item.
-
Make sure the Service Only switch is unchecked. If this option is enabled, the serialized item is recorded as brought in by a customer for service, so it will not be entered into inventory correctly. Review the Viewing or Adding Items to the Customer Tab for more details about this option.
-
Enable the View serialized item when wizard is finished option to open the serialized item window when the process is complete.
-
Click Next to continue.
- Enter in the transaction Date for the transaction to be entered into the asset account and list the item Cost.
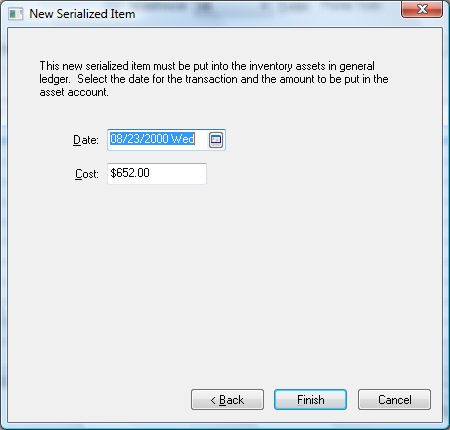
- Click Finish to complete the process.
The Date and Cost entries are used to create adjustment general ledger transactions similar to the standard Adjusting Inventory Count and Value. The following transaction will be created if the inventory item is classified as Serialized Item.
| Debit | Credit | Amount |
| Inventory Asset Account | Inventory Variance | Adjustment Value (The value will be negative if the count has been reduced) |
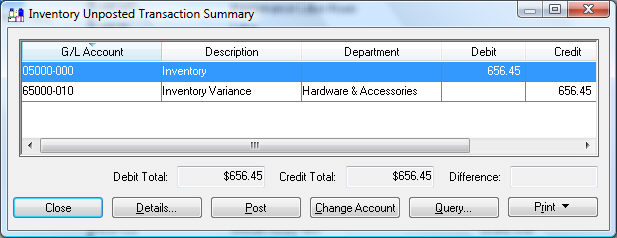
The actual transactions can be viewed by clicking Inventory > Display Unposted Transactions > By G/L Account to open the following summary list:
The following transaction will be created if the inventory item is classified as Non-Inventory Serialized Items.
| Debit | Credit | Amount |
| Inventory Variance | Inventory Variance | Adjustment Value |
Since both the debit and credit transaction are posted to the same inventory variance account, the general ledger will not be affected. These transactions will adjust the inventory history value. Review the Inventory History for more details on tracking inventory over time.
The serialized item record will open if the View serialized item when wizard is finished option is enabled on the first page of the wizard. Note that the Vendor setting within the product record will be set to ($)ADJUST when an item is manually added.
Review the Viewing or Changing Serialized Items from the Inventory Item section for more information.
Click on product record's Count tab and notice that the count number increased, since a new item has been added.