Complete the following steps to check out a rental:
-
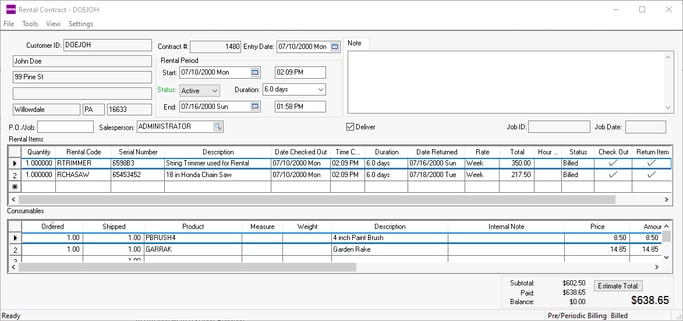
Open a rental contract. Review Creating a Rental Contract or Reserving Rental Items for instructions to open or create a rental contract.
-
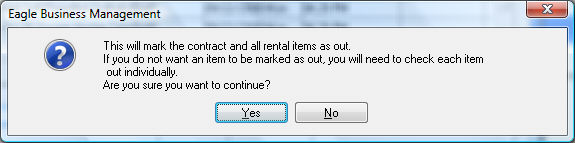
From the rental contract menu, select the Tools > Check Out All option and the following prompt will appear: "This will mark the contract and all rental items as out. If you do not want an item to marked as out, you will need to check each item out individually. Are you sure you want to continue?"
-
Click the Yes button to check out all items. Items can be checked out individually by setting the Date Checked Out and Time Checked Out for individual lines and then enabling the Check Out option. The Check Out option is located at the right side of the detail lines with the other status options.
-
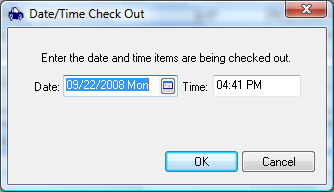
Set the rental check out Date and Time and click the OK button. The Date and Time will default to the current date and time.
-
Some equipment will require the user to enter Hour Meter readings or Micrometer readings during checkout. The following dialog will appear if there is a value in the Max Hours and Max Micrometer column within the pricing tab of the rental item:
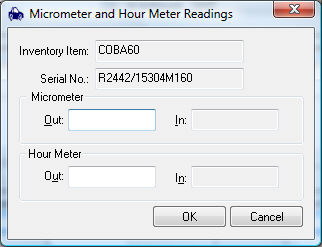
Review Micrometer and Hour Meter Maximums for more on an hour meter or micrometer on a piece of equipment. -
The checkout process enables the Check Out column. The Date and Time Checked Out and Duration entries cannot be changed after the Check Out option is enabled. To change these entries or undo the checkout process, disable the Check Out option. Select from the rental contract menu to change the Due Back settings.
-
Select File > Down Payment from the rental contract menu to process any payments applied to the rental contract. Any payment applied to a contract will be accounted within the EBMS software as a down payment.
-
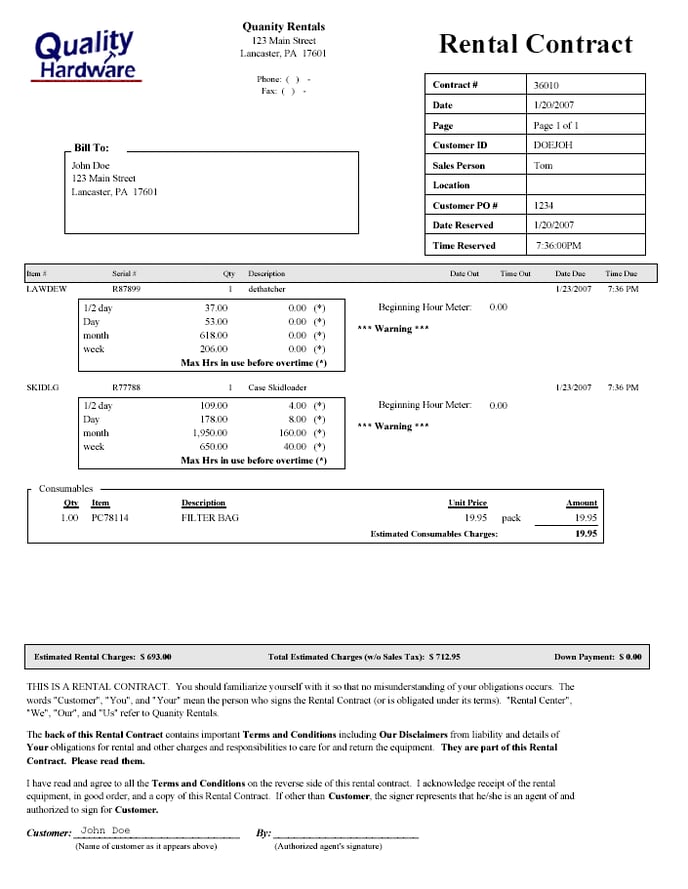
Select the File > Save and Print option to print the rental contract or use the F3 key as a shortcut. Use the File > Print option to open the print dialog to set the default printer. Review the following Configuring Rental Contract section to configure the rental contract format.
-
The rental contract is not an invoice. Continue with the Returning a Rental Item for details on returning rentals and processing the invoice.
Review Scanning Serialized Rental Equipment for instructions to associate barcodes to rental equipment.
Configure Rental Contract
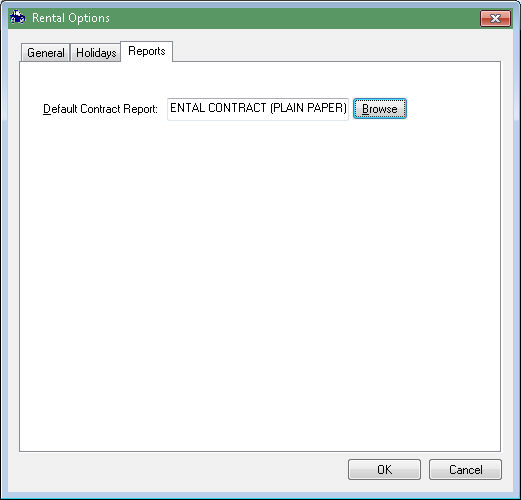
Complete the following steps to assign the Default Contact Report:
-
Go to from the main EBMS menu.
-
Click on the Reports tab as shown below:
-
Select a Default Contract Report from the form options within the Rental folder. Click Browse to select the desired report. Review Crystal Reports Interface Overview to review custom rental form options.