Scanning barcodes instead of manually entering information can greatly increase efficiency and improve accuracy within most point-of-sale, inventory management, and labor tracking processes.
NOTE: This article does not apply to the Mobile Scanner. Review MyInventory and Scanner Overview for instructions to use the mobile scanner.
The most effective way to scan barcodes within the EBMS software is to configure the scanners to activate the EBMS scanning process by simulating F8. Review Programming Scanners for instructions to program a scanner to activate the EBMS scanner mode.
Scanning barcodes
Scanning new barcodes
New barcodes can be associated to products by scanning an existing code to open the following dialog. If the barcode is not recognized, this message will appear: "Scanned code __ is not a product, UPC code, or available serial number! Do you want to create a new product OR associate the UPC code with an existing product?"
Click the Create a New Product button to create a new item within the product catalog. Review Entering New Products for more details on creating new items.
Click the Associate Barcode button to associate and assign the newly scanned barcode to an existing item. A new window called Associate Barcode __ with a Product will open. Enter a Product ID and set the new barcode as a Product UPC for the selected product:
Or set the new barcode as a specific Unit of Measure UPC for the selected product:
Review Entering Barcodes for more UPC and other barcode configuration options.
Scanning Mode (F8) and Code Prefix
Barcodes that are printed by EBMS contain a special character barcode sequence that activates the barcode scanner process (F8) and identifies the type of code. Work order numbers, invoices, product part numbers, accounts, and other IDs are prefixed with an EBMS defined code. Review Programming Scanners and Barcodes for a complete list of these barcode sequences.
Scanning Mode (F8) and No Prefix
The Worker pin code can be scanned within the MyTime App. The Worker ID does not have a prefix, but the scanning mode enters the PIN. Review MyTime User Login for details on logging in by scanning a worker PIN.
The EBMS scanning mode (F8) will evaluate barcodes that do not contain special character sequences as product codes. These product code will be evaluated in the following order:
-
Product code or inventory item: This code is the main Product ID within EBMS. Review the end of the Entering New Products wizard for more details on this code.
-
UPC or alternate bar code: Review Entering Barcodes for setup instructions.
Scanning UPC barcodes
These preprinted UPC codes on the product, along with the UPC information supplied within many vendor catalogs, gives the user an efficient process to scan products without printing barcodes or manually entering codes into EBMS. Review the scanning and vendor catalog options within the Entering Barcodes documentation. -
Serial number: Review Serialized Items Overview for instructions to configure serialized items.
-
Lot number: Review Lots Overview for details on creating lots.
No Mode (F8) and No Prefix
Any barcode scans outside the EBMS scanning mode will be populated within EBMS simulating keystrokes. Any code can be entered by placing the focus within the dialog on the correct entry and then scanning the code.
Increment Counts
EBMS can be configured to populate the amount Shipped or amount Received if the order is already in EBMS. The amount Ordered can also be populated by configuring the proposal or order entry screen properly.
Shipped or Received counts can be limited to the amount Ordered. Review Manage and Increment Counts using a Barcode Scanner for configuration and details.
Review Limit Over-Assignment to limit the quantity scanned to the amount ordered.
Open Dialogs using a Scanner
Barcodes can be used to open dialogs and populate information within EBMS. For example, the user scans the barcode on a printed work order and then scans products used within the project. 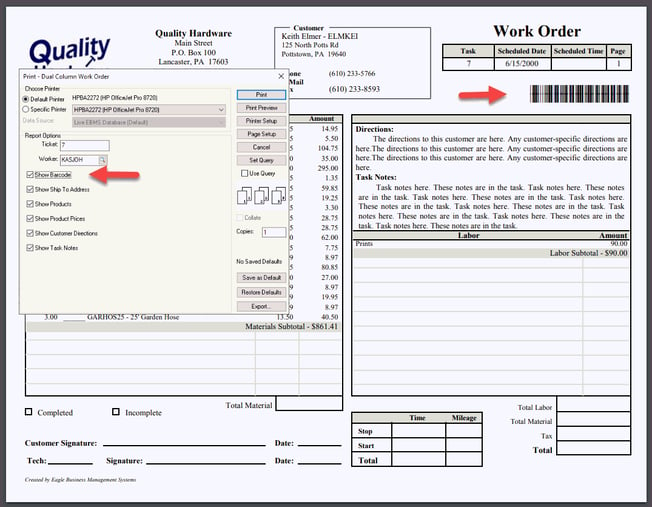
The following dialogs can be opened via barcode:
-
$S Sales order or invoice: Review Entering a Sales Order
-
$K Proposal: Review Creating a Sales Proposal
-
$N Expense Invoice: Review Entering a New Vendor Invoice
-
$F Warehouse Transfer: Review Transferring Inventory between Warehouses
-
$J Jobs: Review Changing Job Information
-
$H Job Costing Transfer: Review Job Costing Inventory Transfers
-
$R Serialized Items: Review Serialized Items Overview
-
An inventory item, serialized item, or lot number does not require a prefix unless it is combined with other prefixes.
These dialogs can also be opened by scanning the barcode with the listed $ prefix from the EBMS navigator.
Review Programming Scanners and Barcodes for codes used to populate entries within a dialog.
Simulate a Scanner
Complete the following steps to simulate a barcode scan. These steps can be taken without a scanner or a barcode.
-
Open one of the dialogs listed above, with the exception of the manufacturing or inventory dialogs. The EBMS navigator is also an option.
-
Click the F8 key to open the following Scanner Input dialog:

-
Blindly enter the code, including the prefix.
-
Press F10 to complete.
Review Programming Scanners and Barcodes for barcode examples and programming instructions.
NOTE: This document does not apply to the Mobile Scanner. Review MyInventory and Scanner Overview for instructions to use the mobile scanner.